How to Inspect Marble for Pinholes and Vein Continuity
Marble flaw inspection requires checking for pinholes under angled light and verifying vein continuity across multiple slabs. This guide provides a step-by-step method for identifying natural stone defects using specific lighting techniques, tactile checks, and documentation to ensure material consistency before purchase.
- Use angled light to reveal pinholes, pits, and surface irregularities that flat lighting hides.
- Inspect vein continuity by comparing multiple slabs to ensure pattern flow and scale match the project design.
- Document every flaw with photographs and a marked map to create a defensible record for the final selection.
- Check the back of the slab for through-pinholes and structural weaknesses that may affect installation.
- Final verification requires a second independent review of the selected slabs under the project's actual lighting conditions.
Why Surface Inspection Fails Without Proper Light
Marble is a metamorphic rock with a crystalline structure that interacts with light in specific ways. Pinholes, pits, and small inclusions catch the eye only when light strikes the stone at a low angle. A flat overhead light can make a slab look perfect while hiding dozens of small defects. Before you touch the stone, adjust the lighting to match the angle you will use during the final installation.
The goal of any stone inspection is not to find a perfect slab. No natural stone is perfect. The goal is to find the slab that best fits the project requirements. For marble, this means balancing surface integrity with visual character. Pinholes are small, but they can become visible from a distance or cause staining if they are open to the environment. Vein continuity determines whether the pattern looks intentional or chaotic across a large wall or floor.
Consider a standard bathroom vanity top. Under direct ceiling light, a slab might appear uniform and clean. However, when the same slab is viewed from the side, near the sink where light hits it at a shallow angle, tiny pores become visible. These pores can trap soap scum or coffee stains, leading to a discolored appearance over time. Understanding this interaction between light and stone is the first step in selecting material that will age well.
Prerequisites for a Reliable Inspection
You need the right tools and conditions before you start checking the stone. A handheld torch or a pair of shop lights is necessary. A soft cloth for wiping away dust and a magnifying glass for small inclusions help. You should also have a camera or phone and a marker.
The slab should be clean. Dust and polishing residue will cover small holes and distort the visual pattern. Wipe the surface with a damp cloth and let it dry. The slab should sit on a stable, flat surface. Any vibration or uneven support will make it hard to judge flatness and will hide the relationship between the front face and the back.
Ensure the room is quiet and free from strong drafts. Temperature changes can affect how the stone feels and how light reflects off its surface. If you are inspecting a slab in a quarry yard, be aware of the ambient light from the sun. Cloud cover changes the intensity of natural light, which can alter the perceived depth of defects. It is often best to inspect under consistent artificial light if the final installation will be indoors.
Bring a notebook. You need to record the location of defects relative to the slab edges. Note the dimensions of the slab and the orientation of the veins. This information is critical for the cutting process later.
Step 1: Set the Light Angle
Position a light source at a low angle, around 10 to 15 degrees from the surface. This is often called raking light. The light travels across the stone, creating tiny shadows in every pit and hole.
Reason: Raking light turns subtle surface changes into visible shadows. Without this angle, pinholes are nearly invisible. You need to see the depth and the shape of the defect, not just its location.
Start with one corner of the slab. Hold the light source close to the stone so the beam is narrow and focused. Move the light slowly across the face. Watch for the shadow lines cast by the defects. A shallow pinhole will cast a short shadow. A deeper pit will cast a longer shadow. The length of the shadow gives you a rough idea of the defect depth.
Do not move the light too quickly. Let your eyes adjust to the changing shadows. If you have a second person, have them hold the light while you observe. This frees you to move around the slab and check different angles.
Step 2: Scan the Surface Systematically
Move the light across the slab in parallel lines, starting from one edge and working to the other. Scan at a steady pace. Do not rush. Look for small dark spots, pits, or areas where the surface looks slightly rough or pitted.
Reason: Random scanning causes you to miss clusters of defects. A systematic grid ensures every part of the slab gets the same level of attention. This reduces the chance of overlooking a group of pinholes in a corner or near an edge.
Imagine the slab is divided into a grid of 50 by 50 centimeter squares. Check each square individually. Mark the center of each square with a faint dot on a transparent overlay if available. This helps you keep track of your progress. If you find a defect in a specific square, note the square coordinates.
Pay attention to the edges of the slab. Defects near the edge are more likely to be cut away during fabrication. Defects in the center are less likely to be removed. This distinction affects your decision on whether to accept or reject the slab.
Step 3: Check for Pinholes with Magnification
Use a magnifying glass or your phone camera in macro mode to inspect any area that looks suspicious. Look for small holes, voids, or areas where the crystal structure is broken.
Reason: The naked eye can miss pinholes smaller than a few millimeters. Magnification reveals the true nature of the defect. Is it a surface scratch, a small pit, or a deeper void? Knowing the difference matters for sealing and sealing effectiveness.
Hold the magnifying glass close to the surface. Look for circular openings. Some pinholes are filled with mineral deposits, making them less visible. Others are open to the atmosphere. Wipe the area gently with a damp cloth to see if the color changes. If the area darkens after wiping, it likely contains a void that absorbs moisture.
If you are using a phone camera, use the macro mode if available. Focus carefully on the defect. Take a photo. The photo will help you compare the defect to other slabs later.
Step 4: Assess Vein Continuity
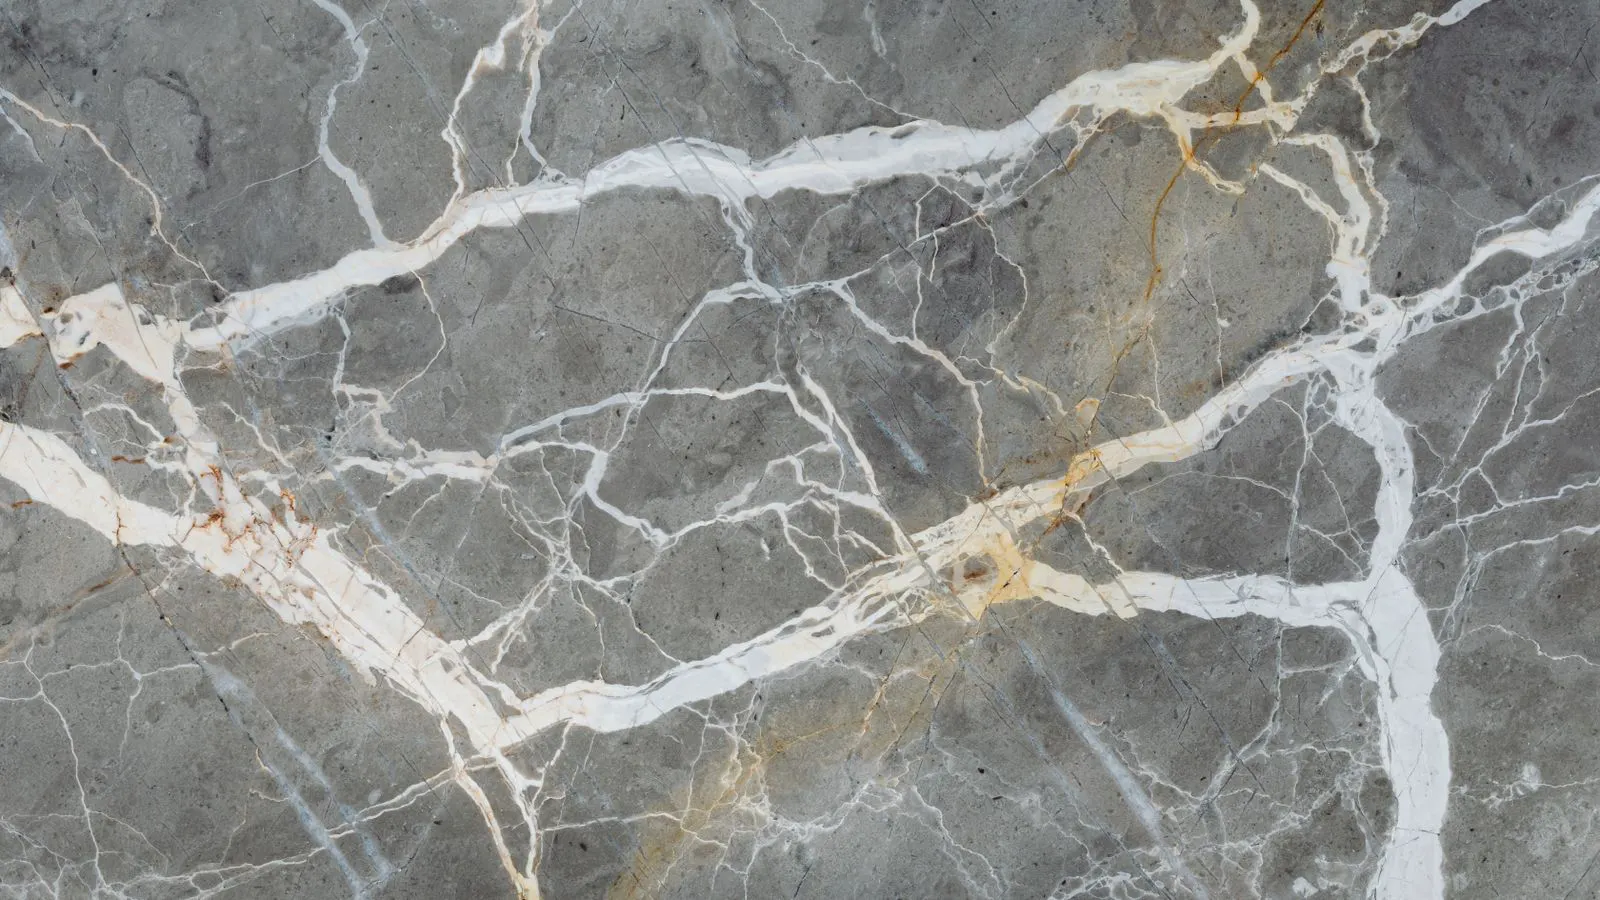
Step back and view the slab from a distance. Look at the overall pattern. Check if the veins flow in a consistent direction and if the scale of the pattern matches the project design. Compare the slab to others if you are selecting from multiple pieces.
Reason: Vein continuity is a visual property. A single slab can look great, but if the pattern is too busy or the veins break abruptly, it may not work as a unit. You are checking if the stone can be cut and installed to create a cohesive look.
Stand three to four meters away from the slab. This approximates the viewing distance for a large wall or floor. Look at the main veins. Do they flow from one end of the slab to the other? Or do they start and stop randomly?
Consider the scale of the veining. Large, bold veins suit large feature walls. Fine, delicate veins suit smaller areas like bathroom countertops. If the project is a kitchen island, a slab with very fine veining might get lost in the busy pattern. A slab with medium-scale veining will likely work better.
Step 5: Verify Vein Flow Across Slabs
If you are selecting multiple slabs, place them side by side. Look at how the veins flow from one slab to the next. Check if the pattern aligns or if it creates a jarring break.
Reason: Large installations require the pattern to feel continuous. If the veins in one slab point north and the next point east, the final result will look disjointed. You are checking if the slabs can be arranged to create a smooth visual flow.
Lay the candidate slabs on the floor next to each other. Move them around to find the best alignment. Look for a natural break in the veining where one slab ends and the next begins. If the veins connect smoothly, the installation will look professional. If the veins clash, the installation will look amateur.
Consider the orientation of the slabs. Sometimes rotating a slab by 180 degrees improves the flow. Try both orientations. Note which orientation works best for the final layout.
Step 6: Check the Back of the Slab
Flip the slab over and inspect the back. Look for through-pinholes, cracks, or areas where the stone is thin or weak. Use the same raking light technique on the back.
Reason: The back of the slab is often less polished, but it can reveal structural issues. A through-pinhole on the front may indicate a weakness in the stone. Checking the back helps you understand the stability of the slab.
The back of the slab is usually rougher than the front. This roughness can hide cracks. Run your hand slowly over the back. Feel for any irregularities or soft spots. Use the raking light to check for cracks that run through the stone. A through-crack is a serious defect. It can cause the slab to break during cutting or installation.
Check the edges of the slab. Look for any chips or breaks. The edges are stress points. A crack near the edge can propagate into the center of the slab later.
Step 7: Document Every Flaw
Mark every defect you find with a marker on the back of the slab or on a paper overlay. Take clear, close-up photographs of each flaw. Include a reference object, like a coin, in the photo to show scale.
Reason: A written description is not enough. A photograph with scale and a marked map creates a defensible record. If there is a dispute later, this documentation proves what was visible at the time of selection.
Use a waterproof marker if possible. Mark the location of each defect clearly. Add a number to each mark. Write down the description of the defect next to the number in your notebook. For example, “Defect 1: Pinhole, 2mm diameter, near top left corner.”
Take photos of the marked slab. Take photos of the back. Take photos of the whole slab in context. Store the photos in a folder named after the project and the slab number. This documentation is your proof of condition at the time of purchase.
Common Mistakes in Marble Flaw Inspection
The most common mistake is inspecting under flat, bright light. This hides pinholes and makes the stone look better than it is. Another mistake is ignoring the scale of the veins. A slab with small, busy veins may look elegant up close but chaotic from a distance.
Checkers often skip the back of the slab. This is a major oversight. A slab with a strong front face can have a weak back, leading to cracks during cutting or installation. Finally, many buyers do not document the flaws. If they do not write it down, it does not exist.
Another mistake is inspecting a dirty slab. Dust and polishing residue can fill in pinholes, making them invisible. Always clean the slab before inspecting.
Some buyers accept a slab with defects because they assume the defects will be covered by the pattern. This is risky. Defects can become more visible over time as the stone ages and collects dirt.
Final Verification Step
After you have inspected and documented the slabs, perform a final verification. Move the selected slabs to a space that mimics the final installation location. Use the same lighting conditions you expect to have in the building.
Stand at the viewing distance. Look at the slabs as a unit. Check if the vein flow works from this distance. Check if any pinholes are visible. If anything looks wrong, go back and re-inspect. Do not rely on your initial impression. The final check is the most critical step because it accounts for the real-world context.
If the final location has mixed lighting, such as natural light from windows and artificial light from fixtures, test the slabs under both conditions. The stone may look different under daylight than under warm artificial light.
Quick Reference for Marble Flaw Inspection
The table below summarizes the key checks and the reasons for each.
| Check | Method | Reason |
|---|---|---|
| Pinholes | Raking light at low angle | Reveals small pits and voids |
| Vein Continuity | View from a distance | Ensures pattern flow and scale match design |
| Magnification | Use magnifying glass or macro mode | Identifies the true nature of small defects |
| Back Inspection | Raking light on reverse side | Detects structural weaknesses and through-pinholes |
| Documentation | Photographs and marked map | Creates a defensible record for selection and disputes |
Final Thoughts
Marble flaw inspection is a skill that takes practice. You need to train your eye to see what the light reveals. Use raking light, check the back, and document everything. Vein continuity is not just about the pattern on one slab. It is about how the slabs work together in the final installation. Take your time. The cost of a careful inspection is small compared to the cost of replacing stone after it is installed.
Frequently asked questions
How do I tell if a pinhole will stain?
Use a drop of water and a dark cloth to test the area. If the stain remains after drying, the hole is open and will need sealing.
What is the best light angle for finding defects?
A low angle, around 10 to 15 degrees, is best. This raking light creates shadows that make small pits and holes visible.
Do I need to check the back of the slab?
Yes. The back can reveal through-pinholes and structural weaknesses that may affect stability during cutting and installation.
How do I check vein continuity?
Place the slabs side by side and view them from a distance. Check if the veins flow in a consistent direction and if the pattern aligns across the unit.
Can I inspect the slab without a torch?
You can use natural light from a window, but a controlled light source gives you better results. You need to be able to change the angle and intensity.