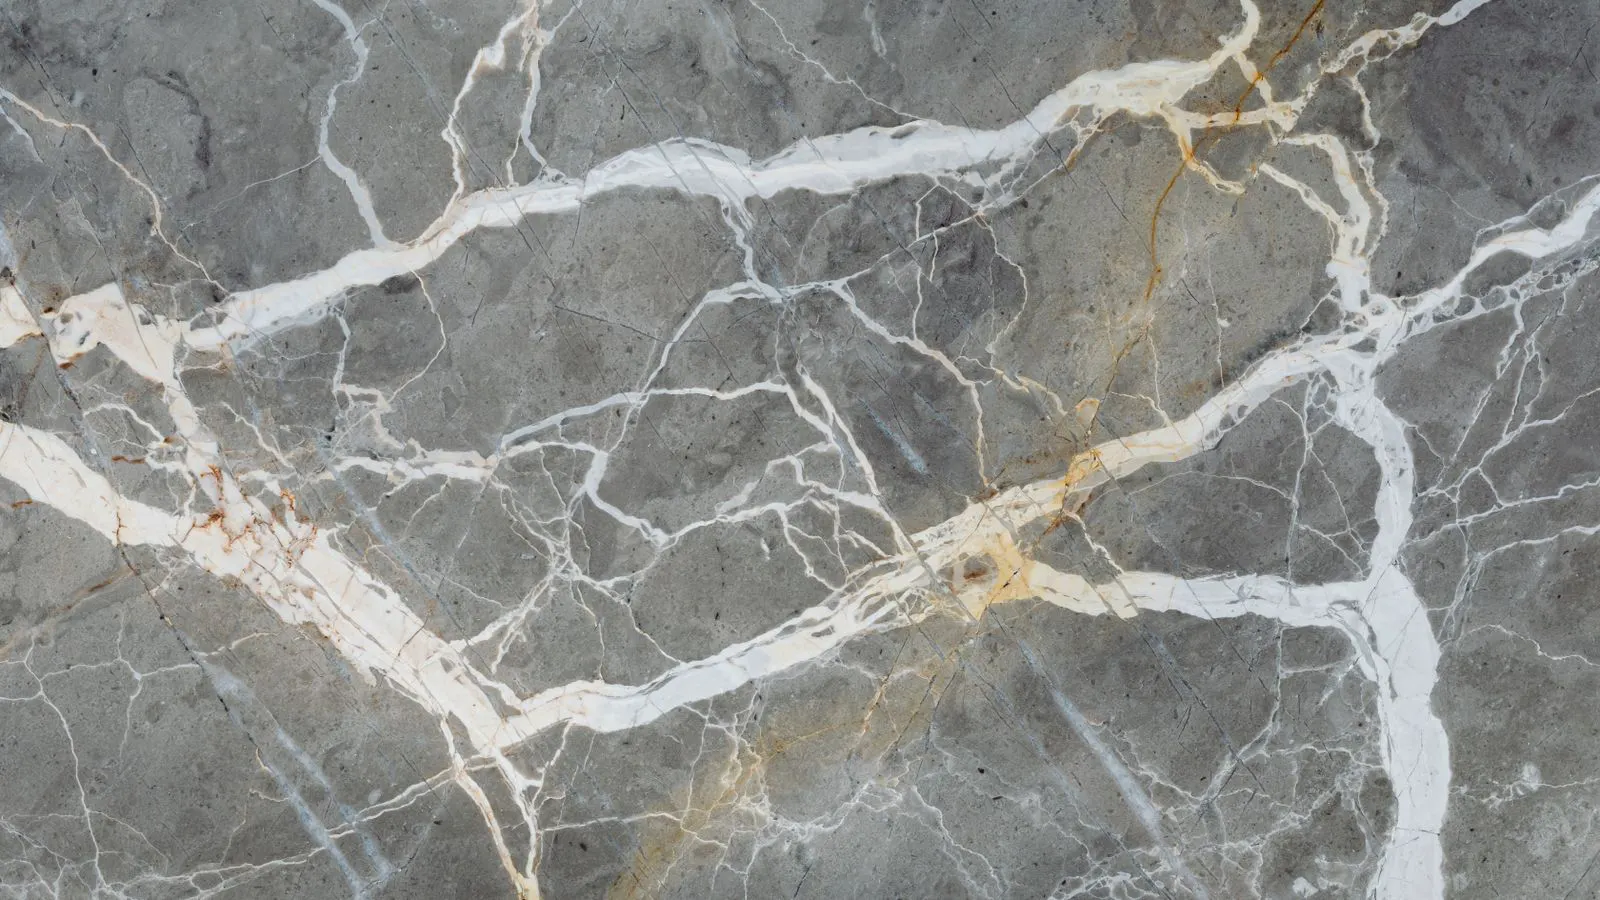
How to Match Slab Veining for Seamless Large-Scale Walls
Slab matching ensures visual continuity in large wall installations by aligning veining patterns, tonal shifts, and texture gradients. This guide covers selection, layout planning, and finishing techniques that help engineers and buyers achieve consistent results across multi-slab surfaces.
- Match stone slabs by laying them out physically before cutting or fixing
- Use tonal zoning to minimize visible discontinuities in busy patterns
- Coordinate finishing methods to prevent texture or gloss variations
- Document the final layout with photographs for future maintenance or expansion
Why visual continuity matters in large-scale stone walls
Large-format walls expose every inconsistency in stone. A single mismatched vein or a shift in surface texture can break the visual flow of an installation. For professional buyers and engineers, slab matching is not just a cosmetic concern. It affects perceived material quality, design intent, and long-term maintenance.
The challenge grows with scale. A six-slab wall is manageable. A thirty-slab wall demands systematic selection and layout planning. Natural stone is not manufactured uniformity. Each slab carries its own vein density, color variation, and surface character. The goal is not to make every slab identical. The goal is to create a composition that reads as one continuous surface.
Consider a lobby wall composed of twenty large-format marble slabs. If the slabs are mixed from three different quarry blocks, the base color may shift from warm beige to cool grey. Even if the veins are similar, the eye catches the color shift first. In a high-traffic commercial space, this shift reduces the perceived value of the material. It makes the installation look less premium than the design drawing intended.
Visual continuity also impacts maintenance. When a wall reads as a single surface, minor wear or a single cracked slab is easier to repair without drawing attention. If the wall is already visually chaotic, a repair slab or a replacement piece becomes even more obvious. Consistency preserves the design intent over decades.
Prerequisites before slab selection
Before opening a crate or reviewing a digital sample, confirm three conditions.
First, define the visual target. Is the design intent a dramatic linear flow, a balanced random pattern, or a subtle tonal gradient? The target dictates how aggressively you match veins. A linear flow requires strict alignment of high-contrast features. A random pattern allows more freedom but still demands tonal balance.
Second, verify the slab source. Ask the supplier to group slabs by quarry lot, block size, and finishing grade. Slabs from the same block share tonal continuity. Slabs from different blocks may differ significantly in base color. Request a written statement of the quarry lot for each slab. If the supplier cannot provide this, the risk of tonal mismatch increases.
Third, secure adequate floor space. You cannot match slabs by email. You need a flat, well-lit area where you can lay all slabs in proposed order. Allow at least 40 to 60 square meters of clear floor space for a typical multi-slab wall. The floor must be level. Uneven surfaces cause slabs to rock, which distorts the view of the joints.
Step 1: Sort slabs by tonal base
Lay all slabs flat in a single row or grid. View them from a distance of two to three meters. Group slabs into tonal families: light, medium, dark, or high-contrast. Do not look at veins yet. Look only at the base stone color and overall surface texture.
Reason: Vein matching fails when base tones clash. A light base with dark veins will always read differently than a dark base with light veins, even if the vein shape is similar. Establish tonal families first.
Practical Example: Imagine a wall of travertine. Some slabs have a pale cream base with thin grey veins. Others have a darker tan base with the same grey veins. If you place the dark slab next to the pale slab, the joint line becomes a stark boundary. The eye sees two different materials. By sorting into tonal families first, you can group the pale slabs together and the dark slabs together, or distribute them evenly to create a gradient.
Step 2: Map vein direction and density
For each tonal group, rotate slabs to identify the dominant vein direction. Mark the high points where veins widen or branch. Place a small piece of tape on the floor next to each slab to indicate its preferred orientation.
Reason: Veins rarely run parallel across different slabs. By mapping direction, you can identify which slabs can be placed adjacent without creating a visible break. Slabs with similar vein angles create a smoother transition than slabs with opposing angles.
Practical Example: A slab with a diagonal vein running from bottom-left to top-right pairs well with a neighbor that has a similar diagonal. A slab with a horizontal vein pairs poorly with a diagonal slab. The joint between them creates a visual “step” in the pattern. Marking the preferred orientation prevents accidental rotation during installation.
Step 3: Build a dry layout on the floor
Lay the slabs in the exact order and orientation they will be installed on the wall. Leave the planned joint width between them. Step back. Walk around the layout. View it from the corners, not just the center.
Reason: A layout that looks good from the front often fails from the side. Diagonal viewing catches vein mismatches that frontal viewing hides. This step catches composition errors before any cutting or fixing occurs.
Practical Example: View the layout from the top-left corner of the wall. Then from the top-right. Then from the bottom. If a vein break is visible from the top-left but not from the center, fix it now. The cost of moving a slab on the floor is minutes of labor. The cost of moving a fixed slab on the wall is significant.
Step 4: Adjust for tonal zoning
If a section of the wall shows a noticeable shift from light to dark, rearrange the slabs in that zone. Move the darkest slab to the most visible focal point, or place it at a corner where it is less scrutinized. Avoid placing a single outlier slab in the middle of a run.
Reason: The human eye tolerates gradual tonal shifts better than abrupt ones. Zoning distributes variation across the wall rather than concentrating it in one location.
Practical Example: Suppose you have three dark slabs and twelve light slabs. Do not place all three dark slabs in the center. Place one dark slab in the top-left corner, one in the bottom-right corner, and one in the middle of a high-traffic zone where the eye moves quickly. The variation becomes part of the composition rather than a flaw.
Step 5: Coordinate edge-to-edge vein continuity
For high-visibility joints, align the end of a vein in one slab with the start of a vein in the adjacent slab. This does not require the veins to match perfectly. It requires them to continue in the same direction with similar width.
Reason: A vein that stops abruptly at a joint creates a visual break. A vein that appears to continue across the joint reads as part of the same stone. This technique is most effective in linear or directional patterns.
Practical Example: A vein ending at the edge of Slab A should meet a vein starting at the edge of Slab B. If the vein in Slab A is thick and the vein in Slab B is thin, the transition looks weak. Look for a slab where the vein width and direction match the ending vein of the neighbor. This creates a “through-vein” effect.
Step 6: Check surface texture and gloss
Place your hand over the finished surface of each slab. Check for variations in polish, honing, or honed texture. If the design calls for a uniform finish, reject any slab that shows a different surface character.
Reason: Texture variation is more noticeable under raking light than tonal variation. A slightly different gloss angle changes how the stone reflects light across the wall. This effect becomes apparent after installation, when ambient lighting is fixed.
Practical Example: A polished slab reflects light sharply. A honed slab scatters light softly. If a polished slab is installed next to a honed slab, the joint line becomes a bright line in raking light. Even a slight difference in honing depth can create a visible band across the wall. Check the surface under a directional light source before confirming the layout.
Step 7: Photograph the final layout
Before cutting or fixing, photograph the entire layout from multiple angles. Record the joint positions and slab orientations. Keep these images in the project file.
Reason: Future maintenance, expansion, or replacement will require reference images. If a slab is damaged years later, the layout photograph helps locate the original position and orientation.
Practical Example: Take a wide-angle photo from each corner of the wall. Take a close-up photo of each joint. Label the photos with the slab numbers and their position on the wall. Store these images in the project management software. If a slab cracks in year five, the project team can identify the exact replacement slab needed from the archive.
Common mistakes that break visual continuity
- Matching veins only at the joint line. The rest of the slab may have a different vein density, creating a mismatch that becomes visible from a distance.
- Ignoring tonal base and focusing only on vein shape. Two slabs with identical vein patterns can look wrong if their base colors differ.
- Installing slabs in the order they arrive from the supplier. Supplier sequence is based on logistics, not design.
- Skipping the dry layout. Matching by memory or digital preview almost always fails on site.
- Finishing slabs before layout confirmation. Once polished or honed, surface variations become permanent and harder to detect.
| Matching Task | Primary Focus | Typical Failure Mode | Correction Method |
|---|---|---|---|
| Tonal grouping | Base color, not veins | Light and dark slabs adjacent | Re-sort into tonal families |
| Vein direction | Angle and flow | Opposing vein angles at joint | Rotate or reposition slabs |
| Edge continuity | Vein width and direction | Abrupt vein termination at joint | Align continuation points |
| Surface finish | Gloss and texture | Raking light reveals uneven finish | Reject mismatched finish |
| Layout verification | Distance and angle viewing | Composition fails from side view | Step back and view from corners |
Final verification before installation
Once the layout is confirmed and photographed, perform a final check under the actual installation lighting. If possible, use a portable light source that matches the site’s ambient lighting. View the wall from the primary vantage points where occupants will stand.
Check three things at this stage. First, confirm that no single joint shows a visible tonal or vein break. Second, confirm that the overall composition reads as a single surface from the main viewing distance. Third, confirm that the finishing method matches the design specification across all slabs.
If any check fails, adjust the layout before cutting. The cost of repositioning slabs on the floor is negligible compared to the cost of cutting, transporting, and re-fixing them on the wall.
Slab matching is a physical process, not a digital one. The stone must be seen, touched, and arranged in context. The techniques above reduce guesswork and minimize the risk of visible discontinuities. The result is a wall that reads as one continuous surface, regardless of the number of slabs used.
Frequently asked questions
How many slabs should I lay out at once for matching?
Lay out all slabs for the wall section at once. Partial matching creates local consistency but can produce visible breaks between groups.
Can I match veins digitally before receiving the slabs?
Digital matching is a useful screening tool, but it cannot replace physical layout. Vein continuity and tonal base require direct visual inspection.
What joint width should I use for slab matching?
Joint width depends on the slab size and installation method. Wider joints reduce the visual impact of minor mismatches. Narrow joints demand tighter matching.
How do I handle a slab with an unusual pattern?
Place the outlier at a corner, behind a fixture, or in a less prominent position. Avoid centering it in a linear run.
Should I match slabs before or after finishing?
Match before finishing. Surface finish changes how light interacts with the stone, but tonal and vein matching must be confirmed on the raw or pre-finished slab.