Limestone Weathering: Long-Term Performance in Coastal Sites
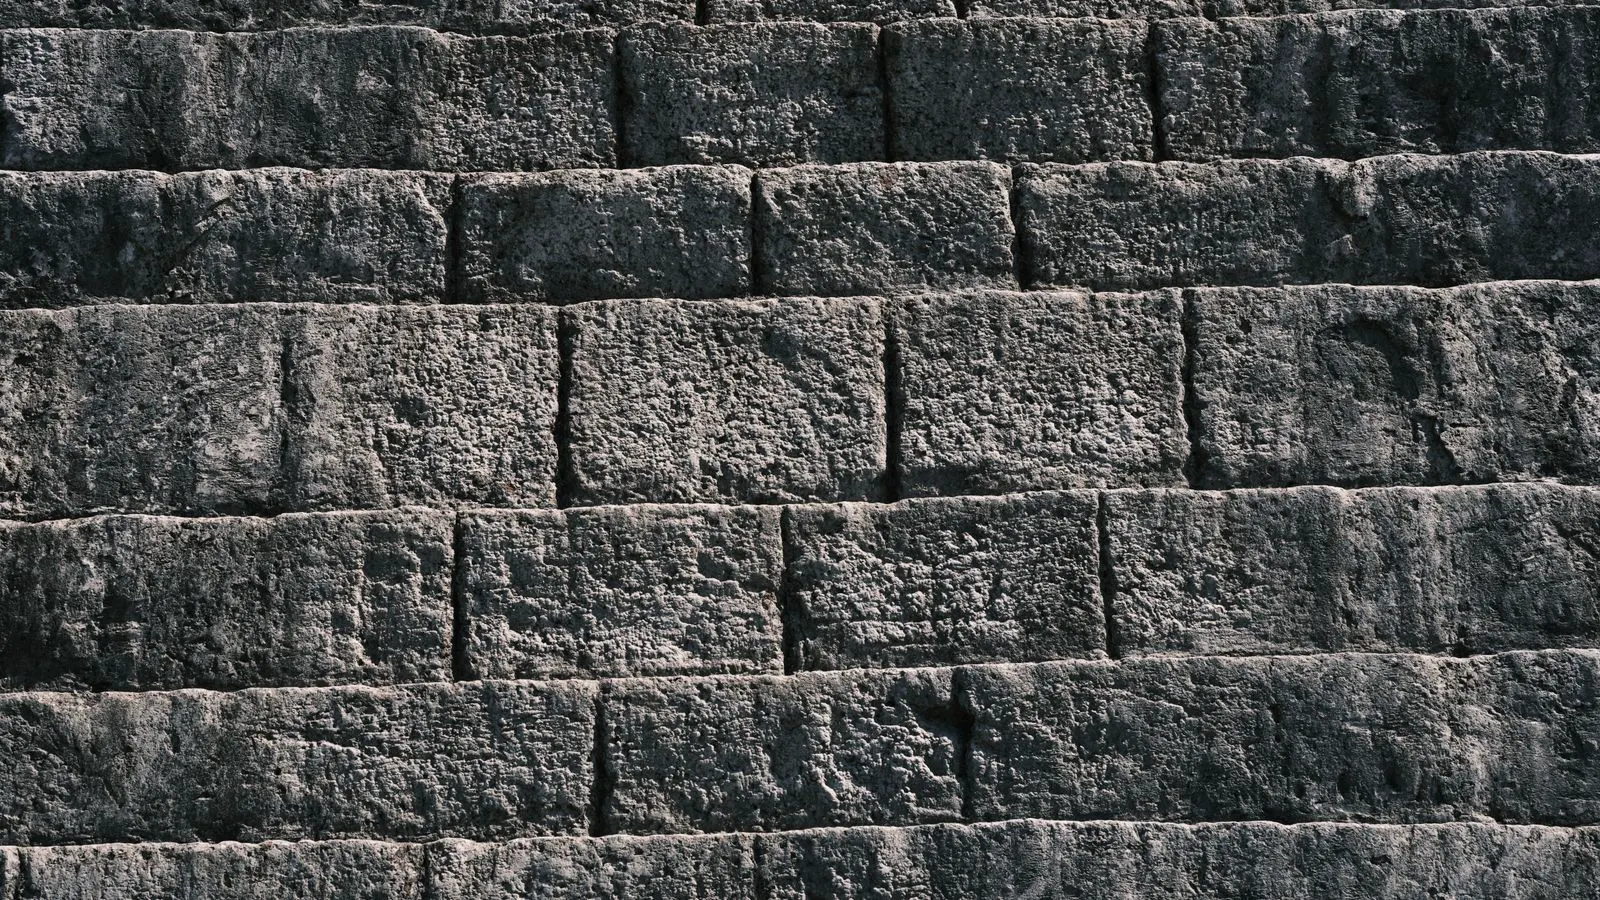
Limestone weathering on coastlines is driven by salt cycles, moisture, and mechanical stress. Buyers should plan for five shifts: stone selection, jointing, maintenance, monitoring, and replacement. Proper preparation protects exterior durability over decades.
- Salt accumulation accelerates surface decay in porous limestone.
- Joint design and drainage control reduce long-term moisture retention.
- Periodic inspection schedules matter more than initial stone grade alone.
- Material choice must match exposure level and maintenance access.
- Design details often matter more than stone color or texture.
Coastal limestone facades face a specific failure pattern. Salt moves through pores, crystallizes in cavities, and applies pressure as it expands. This cycle weakens the surface layer before structural cracks appear. Buyers who treat the stone as a passive finish miss the real cost driver: the maintenance and replacement cycle.
The goal is not to find an unweathered stone. No natural stone remains unchanged in a salt environment. The goal is to control the rate of change and make the stone behavior predictable.
What drives weathering in salt air?
Three forces work together. Salt solution enters the stone through rain or spray. As water evaporates, salt crystals form inside pores. Those crystals exert physical pressure. Moisture also cycles in and out, causing freeze-thaw stress in colder climates. Wind and rain provide the mechanical action that exposes weak surfaces.
The stone itself matters. Limestone is a calcium carbonate matrix. Its hardness, porosity, and cementation determine how quickly it absorbs and expels salt. Dense, tight-grained stone resists salt entry better than open-pored stone. But open-pored stone may weather more evenly, avoiding the sharp surface loss that damages dense stone.
Exposure angle changes everything. A facade facing the sea gets direct spray. A roofline or parapet gets salt-laden wind. A shaded courtyard may stay wet longer without direct spray. The design must account for these zones, not treat the building as one exposure level.
How should you choose stone for coastal exposure?
Start with the failure mode you want to avoid. If you want a stone that sheds salt slowly, look for low permeability and tight grain. If you want a stone that weathers predictably, look for uniform texture and consistent color.
Do not select stone based only on appearance. A light cream limestone may look ideal in a catalog. Under salt cycles, that same stone may darken, stain, or spall at the edges. A darker or more varied stone may age more gracefully.
Ask the quarry about the stone’s behavior in similar climates. This is not a formal test, but a practical conversation. Quarry operators see how their material performs over years. They know which blocks develop surface pitting and which stay stable.
Consider the stone’s thickness. Thin cladding panels may fail earlier than thick ashlar blocks. The substrate behind the stone also matters. If the backing is a porous concrete or mortar bed, moisture can travel laterally and attack the stone from behind.
What design details reduce long-term damage?
Joints are where weathering is controlled. Wide, well-drained joints let water escape quickly. Narrow joints hold moisture against the stone face. In coastal sites, joint width and slope matter more than joint color.
Flashings and drip details protect stone from standing water. A poorly detailed roofline can wick salt-laden water down a facade for years. The stone looks fine until the bottom row fails.
Avoid tight tolerances that trap debris. Sand, salt, and organic matter collect in narrow joints. They hold moisture against the stone. A slightly wider joint with a proper drip edge performs better over decades than a tight, clean-looking joint.
The substrate should be compatible. Mortar that is too hard can trap moisture in the stone. Mortar that is too soft may fail before the stone does. The mortar bed needs to be designed for drainage, not just adhesion.
What maintenance shifts should buyers plan for?
Maintenance is not an afterthought. It is part of the material performance budget. Coastal limestone needs inspection at a defined interval. The interval depends on exposure level, but a practical plan is at least once a year, with more frequent checks after severe storms.
The first shift is surface cleaning. Salt deposits accumulate and darken the stone. High-pressure water can damage the surface layer. Soft washing with appropriate solutions is usually better. The cleaning method must match the stone’s porosity.
The second shift is joint repair. Salt crystals can widen joints over time. Re-pointing is a common maintenance task. The mortar used for repair should match the original in softness and drainage, not in appearance.
The third shift is stone replacement. Some stones spall in patches. Others fail along block edges. The plan should allow for replacement without disturbing the whole facade. Designing for modular replacement reduces long-term cost.
The fourth shift is biological growth. Coastal environments encourage algae and lichen on shaded, damp surfaces. These organisms hold moisture against the stone. Regular inspection and gentle removal keep the surface stable.
The fifth shift is drainage changes. Building additions, gutter changes, or landscape grading can redirect water to the stone. A facade that performed well in year one may fail in year ten if the drainage path changes.
How do you prepare the stone for installation?
Preparation happens before the stone hits the wall. The stone should be acclimated to site humidity if possible. This reduces initial moisture shock.
The stone should be inspected for internal flaws. Surface cracks may look minor, but they are entry points for salt. Reject blocks with significant internal fractures.
The installation method must be compatible with the stone. Mechanical fixings can stress the stone if placed too close to edges. The fixing pattern should allow for movement. Coastal sites experience thermal expansion and contraction. The system must accommodate that without cracking the stone.
The substrate should be checked for flatness. A poorly flat wall puts uneven stress on the stone. Uneven stress concentrates moisture in specific joints. The substrate is part of the weathering system.
What inspection checks reveal early failure?
Inspection is about finding problems before they become visible damage. A visual check from the ground shows the obvious: dark staining, spalled edges, or loose blocks.
A close-up check reveals the subtle signs. Surface pitting is a sign of salt crystallization. The pitting may be shallow, but it indicates the stone is losing material. The rate of pitting growth is the key metric.
Check the joints for mortar deterioration. Cracked or missing mortar lets salt-laden water enter the stone from behind. This is often the first sign of a larger failure.
Check the base of the wall. Salt deposits at the base are a warning. They indicate moisture is rising or splashing. The stone at the base is at highest risk.
Check the top of the wall. Parapets and rooflines get the most direct salt spray. Damage here is often hidden from ground view. A drone or rope access inspection is practical for tall buildings.
The table below summarizes the main weathering mechanisms and the design responses that reduce them.
| Weathering Mechanism | Primary Driver | Design Response |
|---|---|---|
| Salt crystallization | Salt entry and evaporation | Low-permeability stone, wide drainage joints |
| Freeze-thaw stress | Moisture cycles in cold climates | Drainage details, compatible mortar |
| Mechanical erosion | Wind, rain, debris impact | Protective detailing, robust fixing |
| Biological growth | Moisture and shade | Regular inspection, gentle cleaning |
| Substrate moisture | Wicking, poor drainage | Substrate protection, drainage layer |
| Edge spalling | Stress concentration, salt entry | Proper fixing pattern, edge protection |
What mistakes shorten the service life?
The most common mistake is selecting stone for appearance alone. A stone that looks beautiful in dry, controlled conditions may fail in a salt environment. The visual test is not the performance test.
The second mistake is ignoring the substrate. The stone is only one part of the system. If the backing material traps moisture, the stone will weather faster than expected. The substrate must be designed for drainage and compatibility.
The third mistake is tight joint design. Tight joints look clean in year one. In year ten, they hold moisture against the stone face. The joint should be designed for drainage, not just aesthetics.
The fourth mistake is underestimating maintenance access. If the stone is on a high wall and the inspection equipment cannot reach it, the inspection will not happen. The stone will fail quietly. The design must include access points for inspection and repair.
The fifth mistake is treating all exposure zones as equal. A facade has different exposure levels. The sea-facing wall, the roofline, and the shaded courtyard all need different treatment. A uniform design approach ignores the actual weathering pattern.
What is a practical preparation plan for a coastal site?
The preparation plan should be a document, not a conversation. It should list the stone, the substrate, the jointing, the drainage, the maintenance interval, and the inspection points.
Start with the exposure assessment. Map the building. Mark the zones: direct spray, wind-borne salt, shaded moisture, and low exposure. Assign a performance target to each zone.
Select the stone based on the exposure map. Match the stone’s permeability and hardness to the zone. Do not use the same stone specification for the sea-facing wall and the shaded courtyard.
Design the joints and drainage for the worst-case zone. The worst-case zone sets the standard. If the design works for the direct spray zone, it will work for the others.
Specify the maintenance plan. Include the inspection interval, the cleaning method, the joint repair method, and the replacement strategy. The maintenance plan is part of the design document, not a separate afterthought.
The preparation plan protects the stone from the first year of exposure. It does not stop weathering. It controls the rate and makes the behavior predictable. That is the standard for a long-term coastal installation.
The stone will change. That is expected. The design goal is to make that change manageable. A well-prepared coastal limestone facade ages with controlled surface loss, not sudden failure. The buyer who plans for the weathering cycle gets a building that performs. The buyer who plans only for the first appearance gets a building that surprises them.
Frequently asked questions
Does limestone weather faster in coastal environments than in inland areas?
Yes, coastal exposure accelerates weathering due to salt cycles and moisture. Inland stone weathering is usually slower and more predictable.
Can any limestone be used on a coastal site?
No. Porosity, hardness, and cementation determine how the stone handles salt. Selection must match the exposure level.
How often should coastal limestone be inspected?
At least once a year is a practical minimum. More frequent checks after severe storms or visible changes are recommended.
Is high-pressure washing safe for coastal limestone?
It can damage the surface layer. Soft washing with appropriate solutions is usually safer for porous stone.
Can the substrate be ignored if the stone is high quality?
No. The substrate controls moisture movement. A poor substrate can accelerate weathering even with high-quality stone.